Lens love challenge #mamarazzi #photography101#CountryKids

I am very very lucky to have a few lenses which i really really love but i don’t use that often. I have my work horses that pretty much do just that, they are functional, do the job and i have three lenses which are never far from my camera bag. They are the 50mm 1.4 ( this is the mid-range) 24-105 f4.0 ( my go to studio lens and its pretty good for days out as it has a bit of a zoom) and the daddy 70-200mm F2.8 ( this is a killer lens in both quality and size) Out of the three it is the one i use least for personal use but when im shooting for a client..it is pretty much the front runner. every.single.time.

I know there will be people out there thinking ‘well why dont you use it for personal use if its that good?’

One reason…

well five..actually 😉

It is a very heavy and valuable lens and when we are on days out and have all the kids, their stuff, the packed lunch, the dog, uncle tom cobbly and all along with me..adding the stress of a large lens bouncing around on my hip and threatening to give a small toddler a head injury..its just not going to happen. You have to be sensible about lenses when you are talking capturing your own family memories. A large, monster of a lens that might be fabulous but gives you chronic back pain is going to be left at home in favour of your iphone.

Go..on..you know im right. 😉

Getting something that works for you is the key.

Anyway there is a point somewhere.

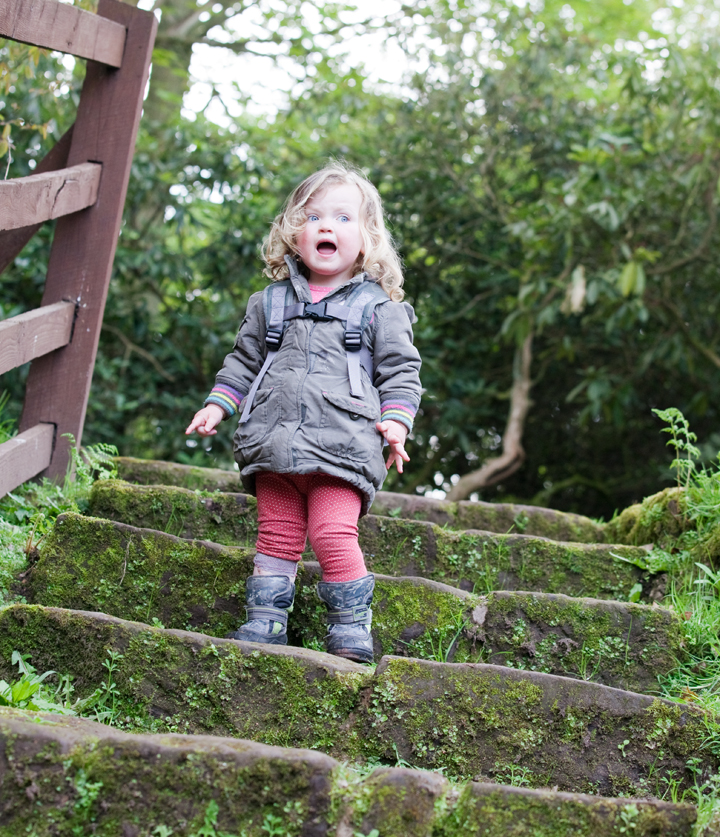
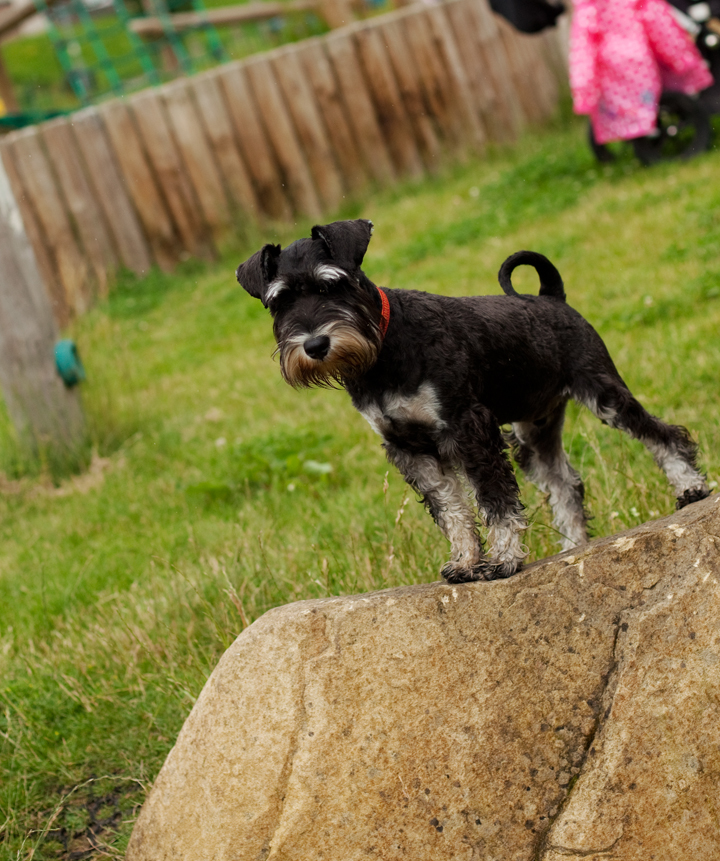
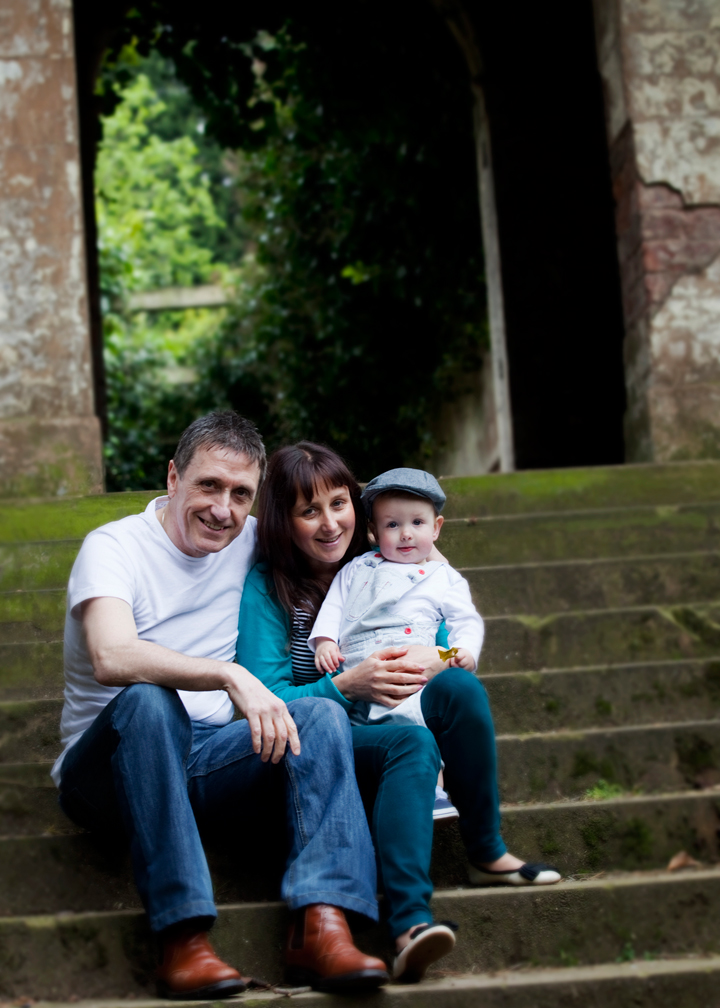
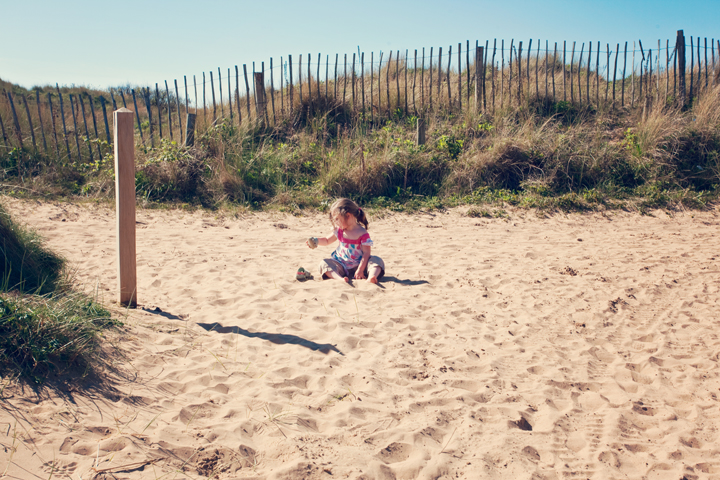
So one of my lenses that i am lucky enough to have on a borrow from my dad is the 15mm Fisheye.

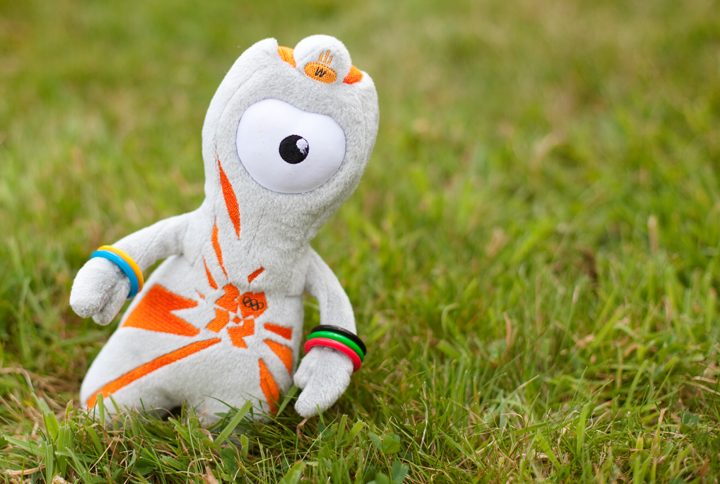
It is beautiful even down to its perfectly styled non-plastic camera cap. Really..its metal. I dropped it on the floor at the Olympic games (the cap not the lens!!) and the lady in front thought id drop a flask or a mug of coffee!  Its small but mighty and i love it. One of the things that i regularly do with the lenses that i dont use that often is challenge myself to only shoot with that lens for a day, a week or a couple of days…some time..so that i get used to using the lens and also a new way of looking at my composition and imagery.

This is SO worth doing. It really stretches you and takes you out of your comfort zone, you might even find that you fall in love with a new type of lens and way of shooting your subject. I know its more money and camera equipment is super expensive as it is BUT it will give you experience of getting an idea of just how different these lenses are and what they can do to an image. I get asked all the time..’So what is actually the difference between these lenses then?’ I went a bit more in depth about that here 

Here is your chance to find out!

I know not everyone has access to more than one lens BUT there are companies that hire out these lenses for a few days and they are not that scary prices either. I would totally recommend shopping around and grabbing something that maybe you are toying with the idea of owning or maybe even you just want to see what they would be like for the hell of it.

Its playtime 🙂

Some companies worth thinking about are: lensesforhire lenspimp lensfettish

Thats just a few, there are loads out there!

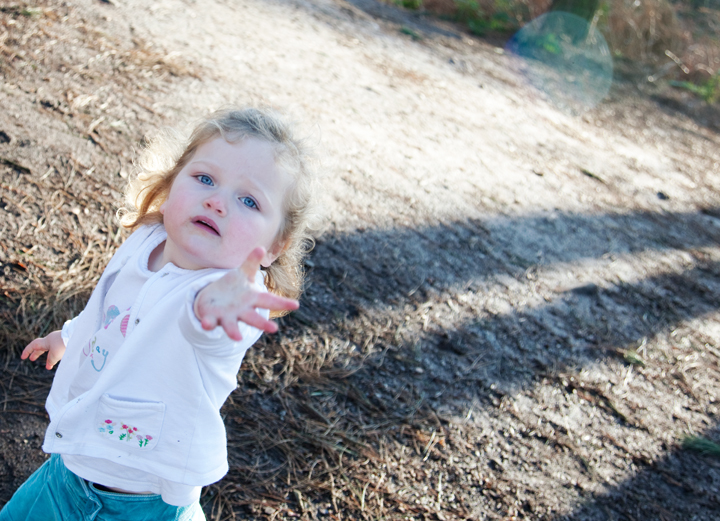
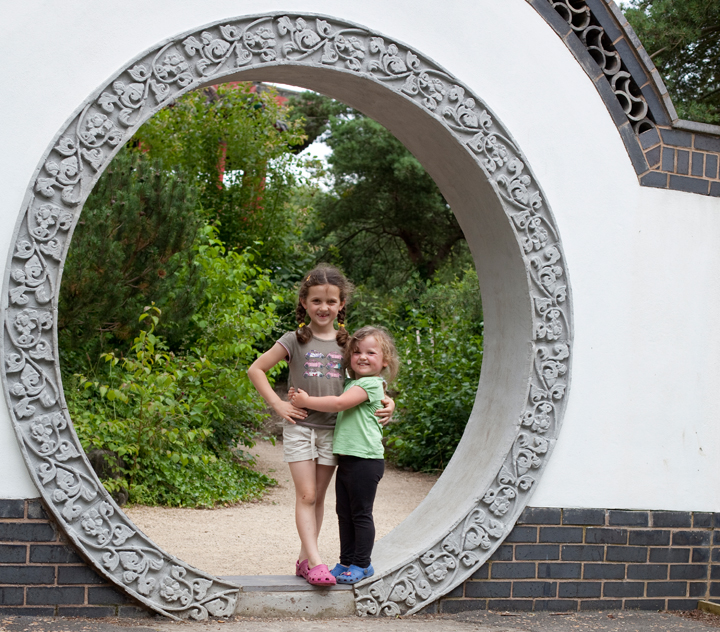
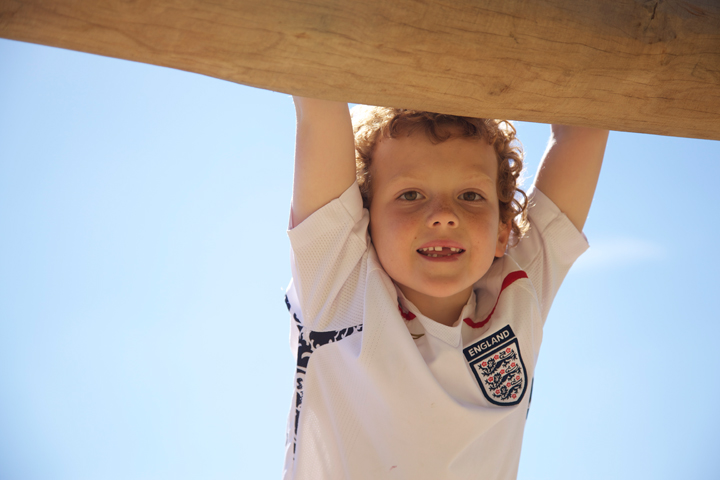
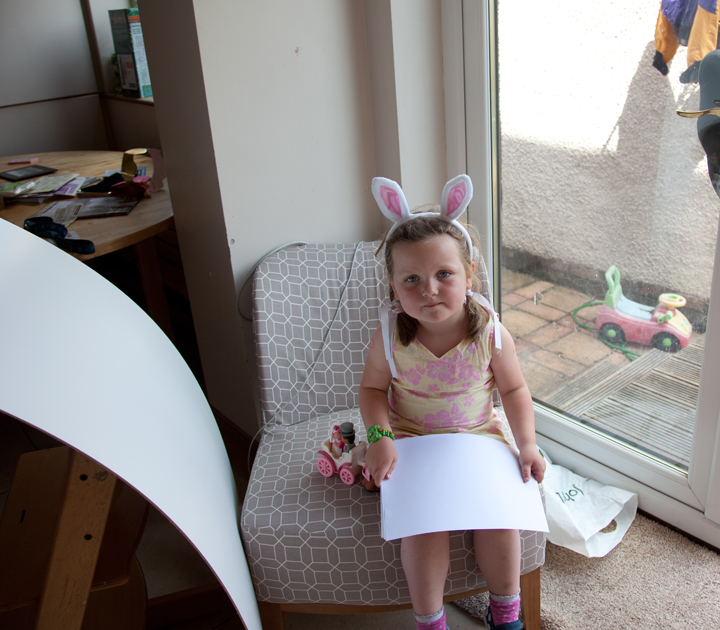
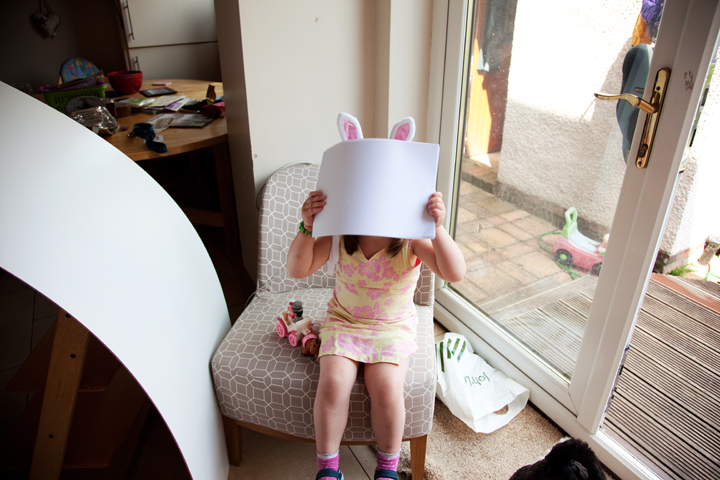
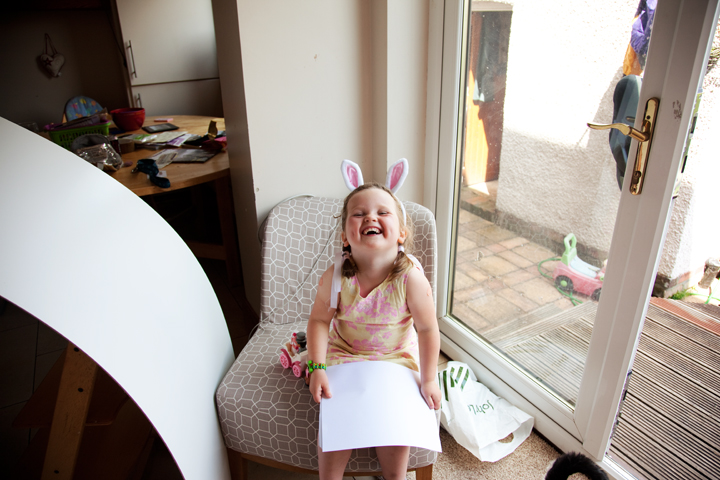
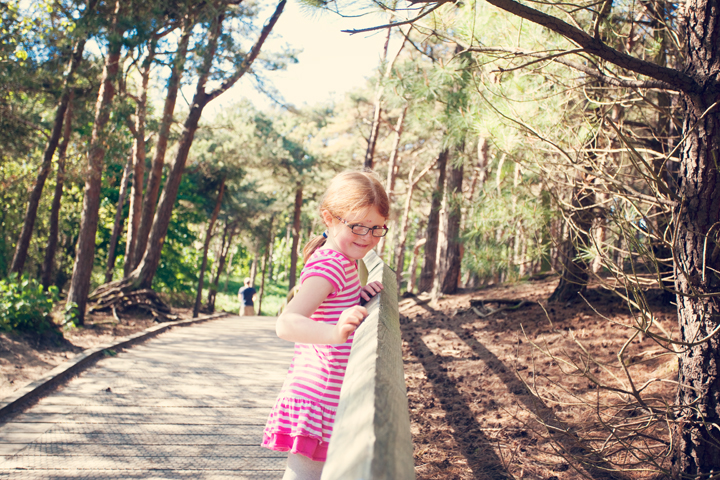
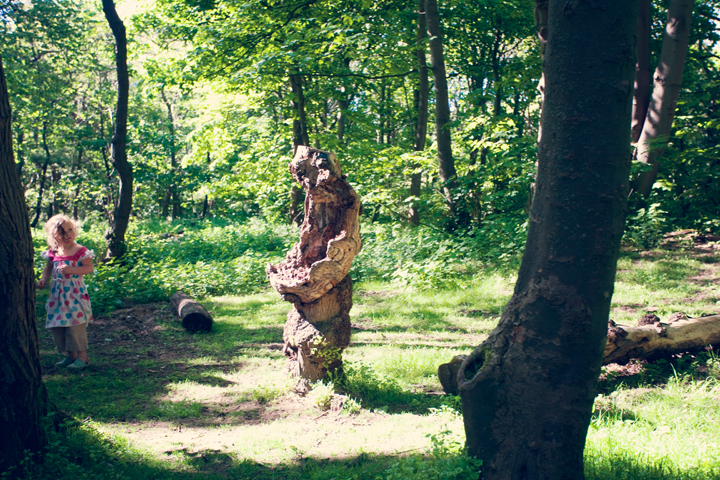
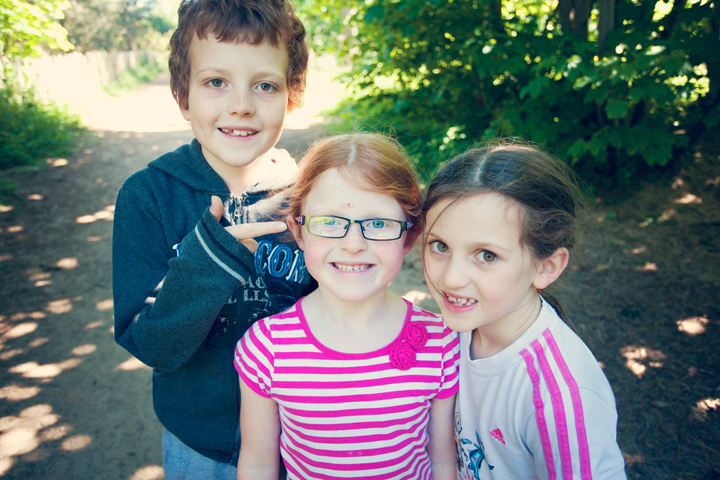
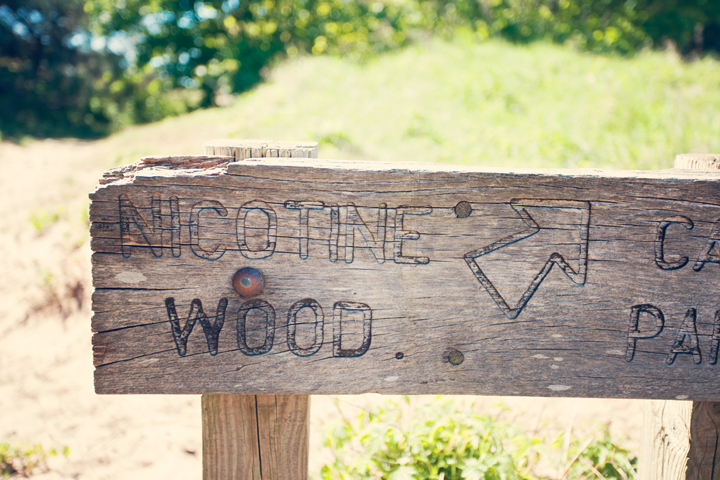
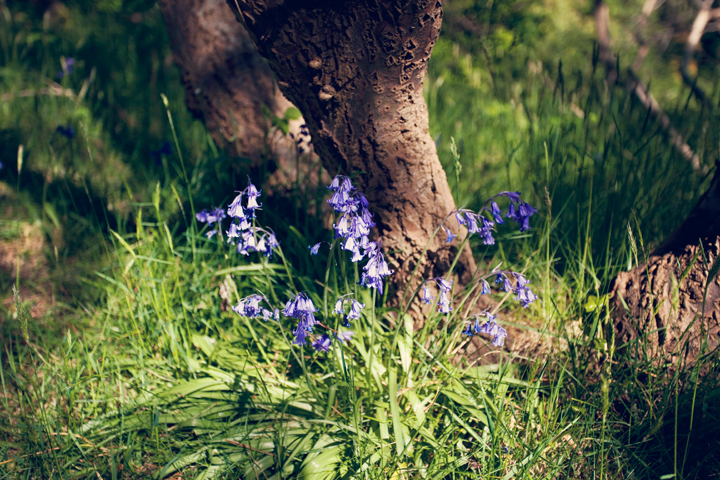
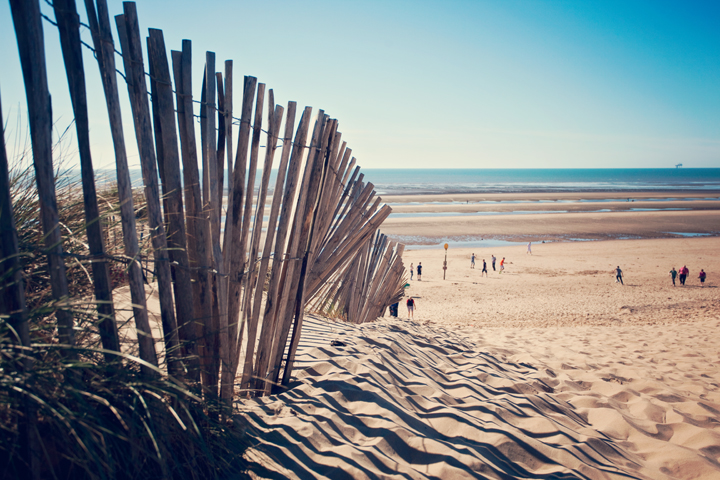
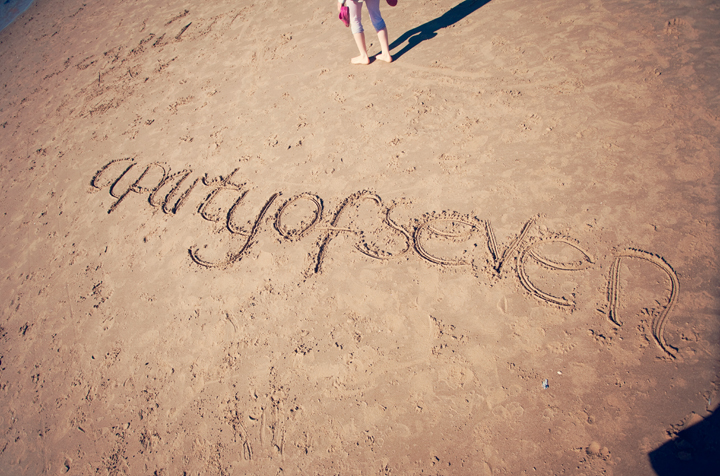
So.. here is what i got up to. It was an awful day today and it rained…a lot..so we went for a quick bike ride and fed the ducks. The thing about the rain is it makes the greens take on an luminosity that is so attractive..which is probably the only good thing about rain…well you know apart from that we need water to live ‘n all 😉

This post is linking up with the Country Kids too…so welcome all linky followers!

Family Farm Holidays Cornwall

Follow:

Moving towards the light #mamarazzi #photography101

Light is what photography is all about, you get that by now right? Light pretty much governs everything about your image so its fairly significant!

A lovely way of lighting is by putting your light to the side of the subject, it adds a real depth to an image, a lovely three dimensional quality. You know when you look at an image and there is just something about it that draws you in, often that is because this sort of lighting is being used. Its the sort of image that has a really strong distinction between the highlights and shadow across the face.

A general rule is to put your subject at a 45 degree angle to the source of light, which for most of us in going to be a window if we are inside and trying to get our kids to sit still. Or it can be outside usually when the sun has a directional quality about it, like during the golden hour (hour after sunrise and hour before sunset)

This is harder to control when you are taking a picture of a kid, the reason for this? Same as usual. They move. If they turn their head that little too much you are going to end up with all in shadow.  One way of working out if it is slightly too much is if you look in the eyes of your child and can’t see catchlights in both. They chances are they have moved too much, so just try and get them to turn a little, easier said than done right! 😉

It is a beautiful style of lighting and is a favourite of portraiture photographers. It adds so much to the picture, its also pretty good for slimming if you are thinking of wanting to loose a few pounds as well 😉


Okay so here is a little project you can try out… this is a really clever and everso simple thing you can do here…this works in any lighting scenario to be honest…in the little diagram at the top of this image you can see that next to the person icon is a line saying reflector.

This does pretty much what is says and reflects light. It absolutely does not need to be a massive big reflector that you might have seen professionals using. No. It can be anything white pretty much…white is a very good reflector of light. Just even by using a sheet of paper you can see changes.

I did a demonstration with this today with my daughter who was a total trooper after having her pre-school booster imms this morning. She was working for smarties it has to be said. Ive done no editing to these images so you can see it as is. This is really easy to do…no dont think its all fancy photographer stuff. You can do it!! Try it out.

So here it is…sit your subject next to window or a light and aim for about 45 degree to the light…So this first shot is just the window light, you can see where the light drops off her face. yes?

Enter reflector to the left, this is a white bit of card that i got from b and q. You can see how the side of her face has just brightened up a bit. She did turn a little bit away in this one.

another reflector, you can see what it is by scrolling down. The reflector is on her lap so reflecting the light back into her face. The shadows have almost balanced out on her face now.

Yes mum im really very happy about this…

Er..no..not ON your face!

Yes..its all funny till mummy asked me to do it again!

 and the finished shot….my little girlie…

So what do you think? ready to give it go? Do let me know how you get on.

Follow:

France en Scouse. #Countrykids #Springcarnival

We have a beautiful beach about an hour from where we live and this week on half term we have had a *few* days of lovely sunny weather. But not too many. So we made the most of it. It is a really beautiful area and we walked to the beach through the woods which so reminded us of our holidays in France. Those lovely tall trees with dappled sunshine and sandy under foot. Made us hanker after a cheeky bottle of red, a freshly baked baguette and some smelly cheese.

There was a little bit of posing by a certain little girl who had just got herself some new gigs 🙂 I think these are the best yet!

Formby is the home to the endangered red squirrels, you can walk along a lovely boardwalk area and try to see some of them. We usually do get to see some of them, they are quite friendly although obviously you are encouraged not to feed them!! The beach is owned by the national trust so there are plenty of signposted areas with little bits of information about the squirrels and why they are endangered. We had a lovely walk through that part of the forest. Including finding the most bizarre looking tree stump that looks like it just came straight out of the water in a scene from Captain Hook!

We walked to the beach which is wide and sandy for the kids to have a play, inevitably we had a toddler faceplant in one of the pools of seawater but she was pretty game about it!.

Wet kids meant home time eventually, once we had climbed the dunes out of the beach and a stop off for some tea on the way home.

All in all pretty good!

Spring Carnival

Family Farm Holidays Cornwall


Follow:

what is RAW all about? #mamarazzi #photography101

This week i thought i would muse on something a little more about quality settings within your camera and details about image file format….

yeah i so know that half of you have just fallen asleep…ha!

Anyways i have been asked about RAW before so i thought i would mention it.

Most of your DLSR’s will be able to give you two choices of what mode you want to shoot your images in, what file format. The standard mode is JPEG, which a really useful file format. Its relatively small, simple to store, uploads into all editing programs, can be uploaded to the internet and sent in email.

So why would you consider something else, if you have this super duper fits all format?

Well a raw file is basically giving you more information in your file and therefore gives you more options of what you can do with your image in post processing. For example you can restore some detail in a blown out image or bring in some light to a dark image, change your white balance or make some more sophisticated photoshop edits.

So why do any of us shoot JPEG then if RAW gives us so much more. Well RAW files are mahoooooosive. They take up some serious space, your storage space is just going to get eaten up with raw files. Ask my OH how many times he tells me to delete some files as the hard drives (and i have three) are getting full. Also you might have to buy more software to be able to process raw files. Software companies such as adobe do not always have the standard format for certain raw files form certain cameras, particularly if you have older software and you are buying a newer camera.

So i guess the thing is to weigh up whats more important to you, space or image data and control. You can even experiment a little as a lot of cameras will allow you to shoot in raw and jpeg. So you can do a bit of both. That will suck your memory cards though. Remember if you have a 4gb memory card then you won’t be able to store as many raw on that card as you will jpeg.

So..how to change the image quality. This is on a canon camera. Should be easy to navigate to on other makes. Im making no comment about what camera is best. The photographer takes the picture remember!

You need your menu, go into quality and you see the icon that looks like a little wedge of a cheese. 🙂

There you can see the options you can go for.

If you are shooting in raw, make sure you have the software to read and use those files. So might be worth shooting jpeg and raw initially. In photoshop your raw file will be loaded into adobe raw, which is fabulous tool for some great editing options without going into full photohsop.

So a little example, this is just to demonstrate what you can do in adobe raw..so im not going to go into photoshop ..another time 😉

so this is my original image….


then taking it into adobe raw, if you have photoshop the image should open in adobe raw….looking a little something like this, you can see the image, the histogram on the left which shows you colour range through from darks to lights and then your options for editing down the side. You can see where there is red masking..that is where the pixels are blown out. It was direct sun (behind her).


on this one i have slid the ‘recovery’ slider which has drawn back some of those blown put pixels, you can see the red masked areas have gotten a little smaller? yes?

The square box is also where i will crop the image to.


Then i have slid up a little bit of vibrancy to make the colours pop a bit and used the ‘curves’  to bring a little bit of light into her face.

Ive also sharpened the image up a little.


This is the initial result. Now if you did that to a jpeg file, if its a lovely bright image like this where your camera and lens are not maxed out then it would be fine but if your camera is working pretty hard to get the light right and your ISO is high then editing your image may well leave it looking pretty grainy.


So what do you think? Have a play with it, see what you can do. Thats the brilliant brilliant thing about digital photography…you can just keep on trying without having to pay to develop a truck load of film.

Let me know how you get on.

Follow:

Composition #dadarazzi #photography101

This week instead of covering another technical aspect of your camera I though i would focus on a more artistic look at how we can make our pictures look desirable to the human eye.

Just before i start actually though, thanks so much for all your lovely feedback about these posts. The biggest thrill i get is that people say they are going to go and have a go with their camera. That is my aim. Not to come across as a big know it all camera person. Because I am so not. But just to encourage parents to get out there and capture life as it happens in their families. Like the Fool did last week, experimenting with shutter. This week im re-naming my mamarazzi as dadrazzi in his honour 🙂

Anyway..so this week its all about composition. What is it that makes you look at an image and go WOW.

As photographer we can control what the viewer sees in our image. That can be by using things like shutter/aperture and manipulating the light..but also how we present the image is important. Where is the eye drawn to in an image? How is it all coming together.

Here are a few basic ‘rules’ you can follow.

Leading Lines

This principle is based on leading your viewers eye to what you want them to focus on by the use of lines in an image. They don’t need to be straight, just needs to be something that ‘lures’ the eye to the object of interest.

Here are some examples..

you can use so many different things as leading lines..here are some train tracks…

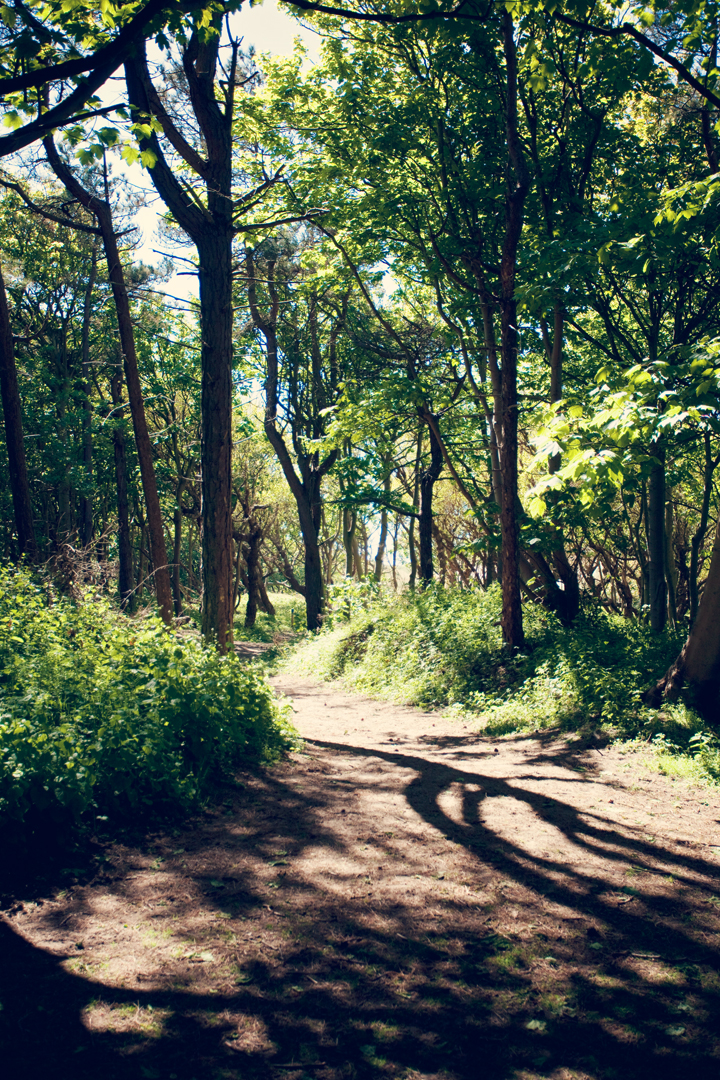
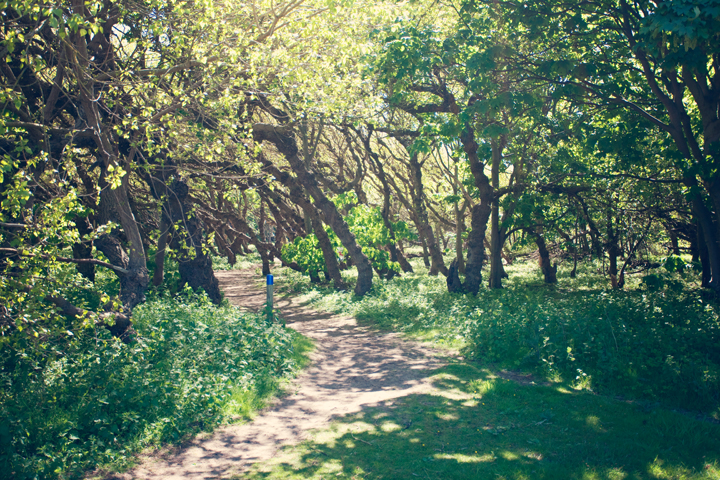
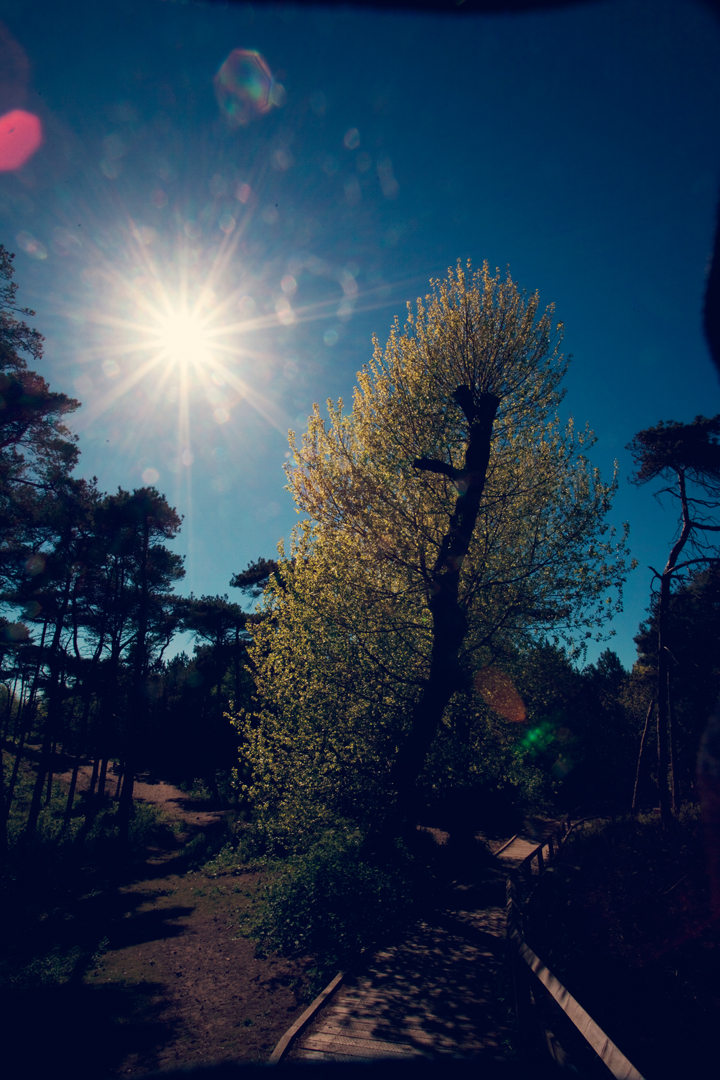
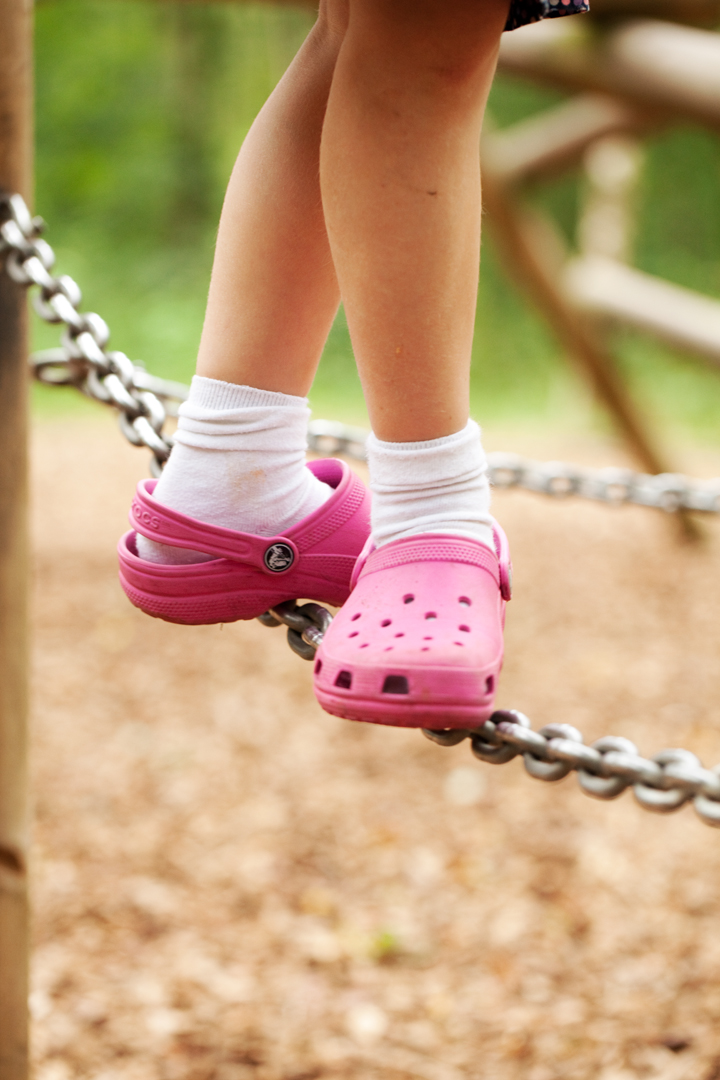
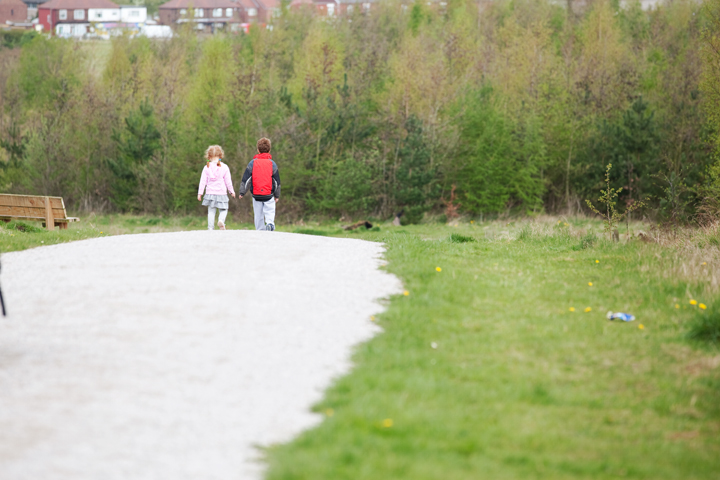
or something simple like a path
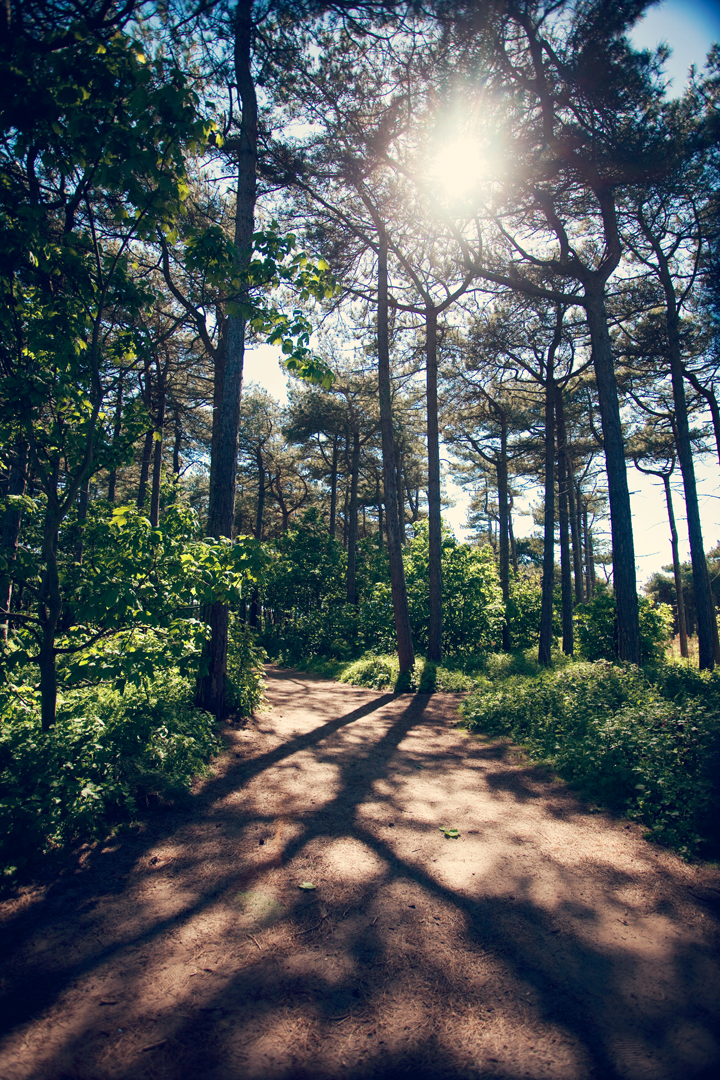
doesnt have to be just for kids either..you can use leading lines for anything you want to draw attention to.

fences are really good for leading lines, especially for portraits. get your subject to lean in to wall and then you do the same and shoot 😉

can even be something like a shadow

Frame it up

Im not talking about putting your picture in a frame on your mantel. Although we ALL probably need to do more of that and give our crippled hard drives a break from storing all those images that never get seen! But no what im talking about is using an element in your scence to provide a natural border that draws attention where you want it. You can use anything from the outline of a door or window to a row of trees of cluster of bushes. Basically anything that surrounds your subject will pack a punch.

Look for negative

Not as in, think negatively, but as in think about the power of negative space in your image…nothingness. It really can pack a huge punch. It means an area of your image that has no visual content in it. Intentionally leaving some empty space around your subject can make a huge impact. Works well when following the rule of thirds…

and lastly – for now…

Get off Kilter

So you think that you always have to have your subjects standing up straight and all your horizons level. Well sometimes its good to mix it up a bit and shoot on an angle. A tilted photo can add visual interest to your scene. The thing is to make your slant obviously intentional and not so awkward that your subject seems to be sliding out of the frame. Similarly, incorporating diagonal lines to your photo can aid the eye in moving across the image, giving your image energy.

Here are some examples..

So there are a few pointers, see what you think and if you fancy giving it a go, do let me know how you get on.


Follow: