Okay so this is one of my favourite little tweaks you can do ‘in camera’ to your images and it can really make a massive difference. When we are talking about metering, we are not meaning those folk who turn up in high vis jackets to rummage through your under stairs cupboard to read your gas meter. Which incidentally WHY are they always in such ridiculous to reach,buried by debris type places? Who designed that? Anyway i digress..
Have you ever seen this:
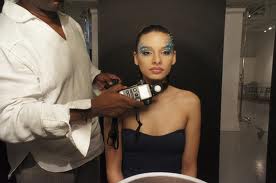
The thing that that is being held in front of the model is called a light meter and it is basically an external devices that measure the light in any given situation. When parked in front of someone like this and pointing toward the light that is hitting the subject it will spew out some numbers which should, when plugged into a camera, properly expose an image. Which is great. Problem though? Every time your light changes you have to bob out in front of your subject an take another reading…not so handy when you have a small, wriggly kid.
So the gods of digital put a device like this IN the camera itself. YAY! : )
and it should be one of your favourite tools.
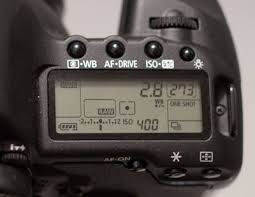
Right so where is it? Here are a couple of screen grabs of what it should look like on your camera:
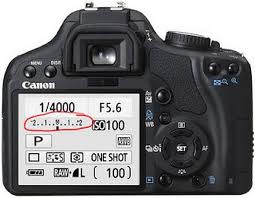
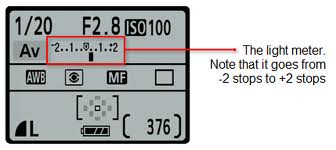
It looks a little like a thermometer dial and you can see that it goes from -2 to +2 either side. These are called stops but without getting confusing going for the add side you are going to add more light into your image and the other way it will be darker. Simples. The Zero icon in the middle is correct exposure and what you should be aiming for most of the time.
So easy way to get started. Pick and ISO and plug it in, you can do this in manual mode or generally one of the priority settings (as in aperture or shutter). You can’t do this in auto modes usually. Anyhow so pick an ISO, (100-400) outside on a bright day. Then point your camera at something and change the aperture or shutter until the little line in the middle of the thermometer bar is in the middle. POW! perfect exposure all created by YOU!
One thing to bear in mind though is that your camera can be fooled, if there is a lot of light around then it can work out the values incorrectly and you can end up with an over exposed image. This is where practice comes in and being able to account for it and then changing your little dial to adjust for that difference. For example in back lit situations, your camera will meter for the light which will make you subject dark. So what you want to do is go up a coupe of stops towards +2. That lets some more light in and will hopefully illuminate your subject as well.
Here ‘s a bit of an example of what i mean..
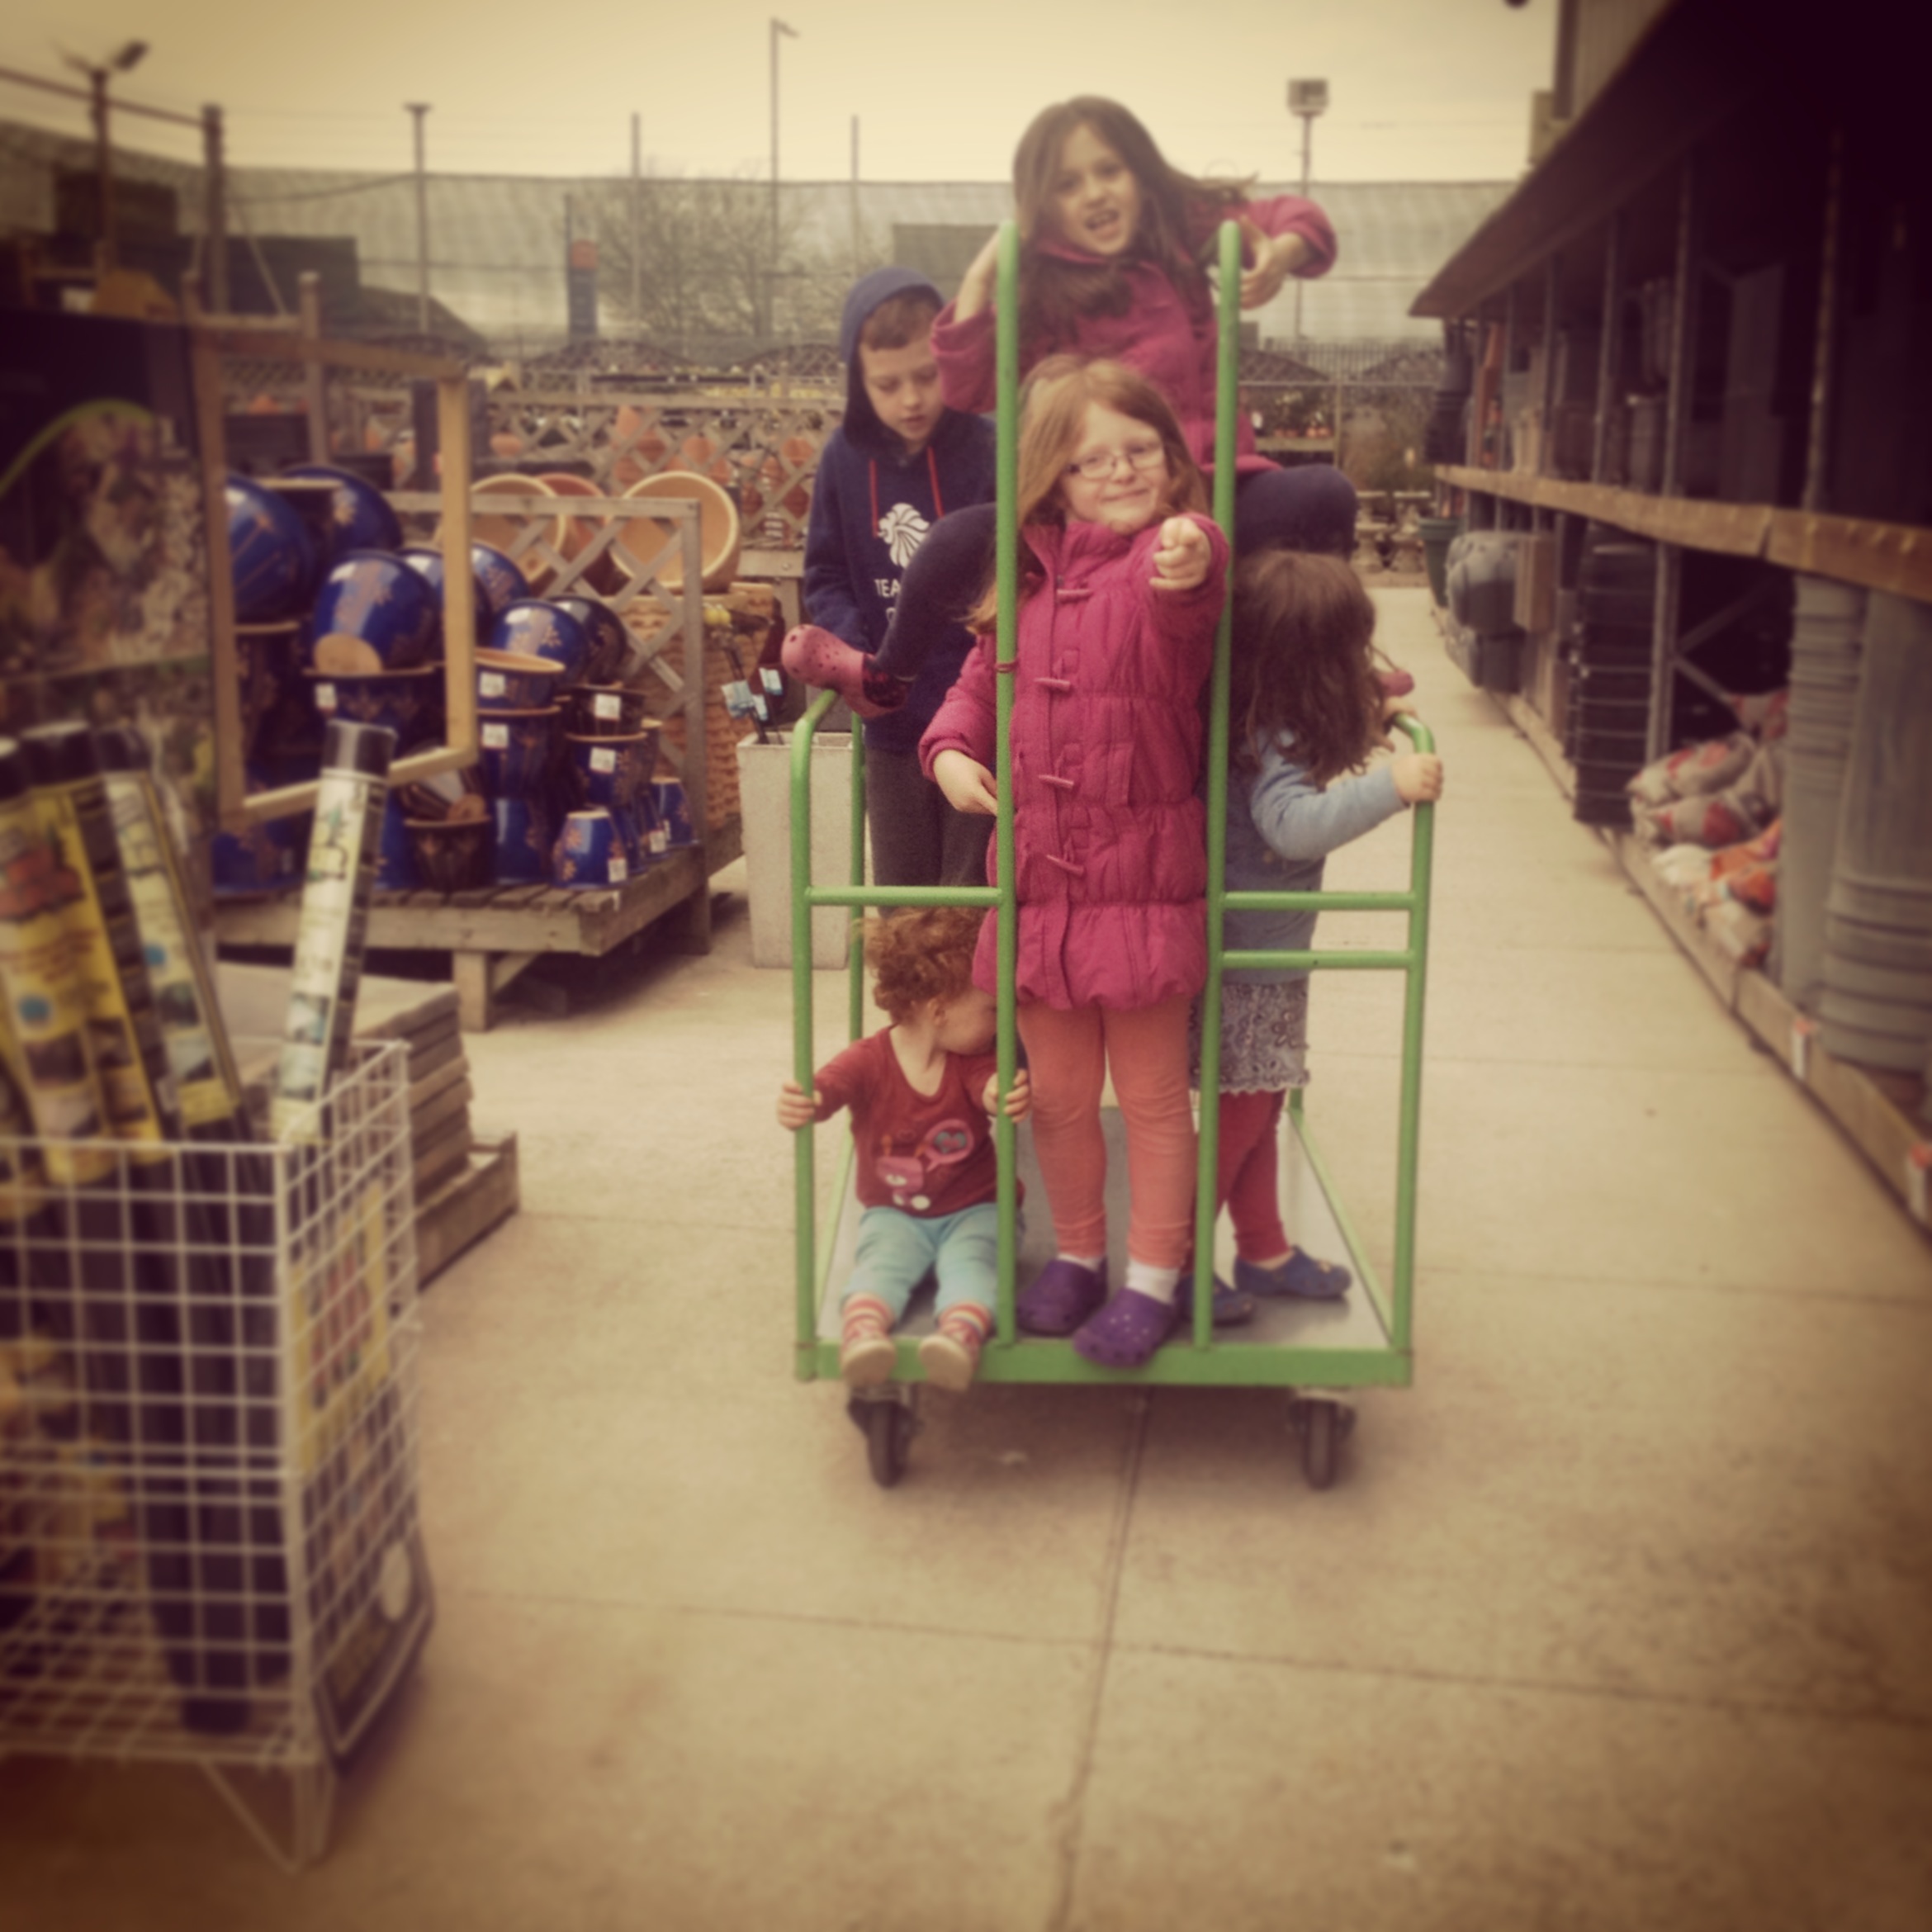
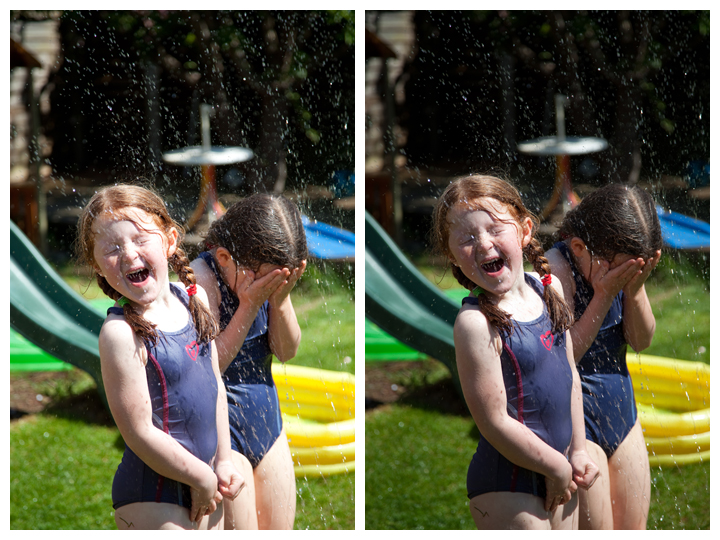
In this image, i have adjusted the exposure by half a stop. You can see the difference it has made! Just one or two clicks to the + side and you can really change the look of the image. I did these adjustments in lightroom just to give you an example.
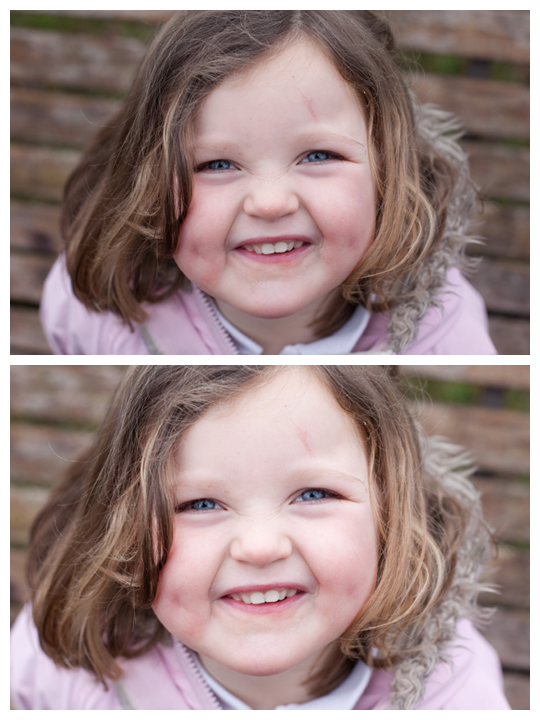
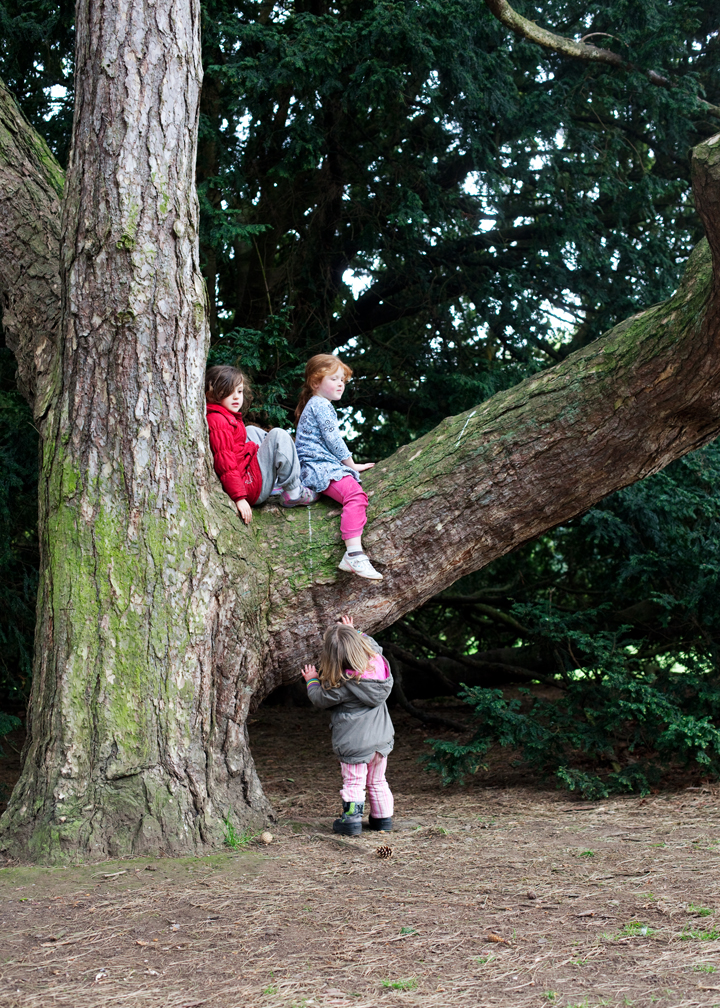
then here in this image i have taken it down a whole stop. So that the brightest part of the image really stands out, thats going towards the – end.
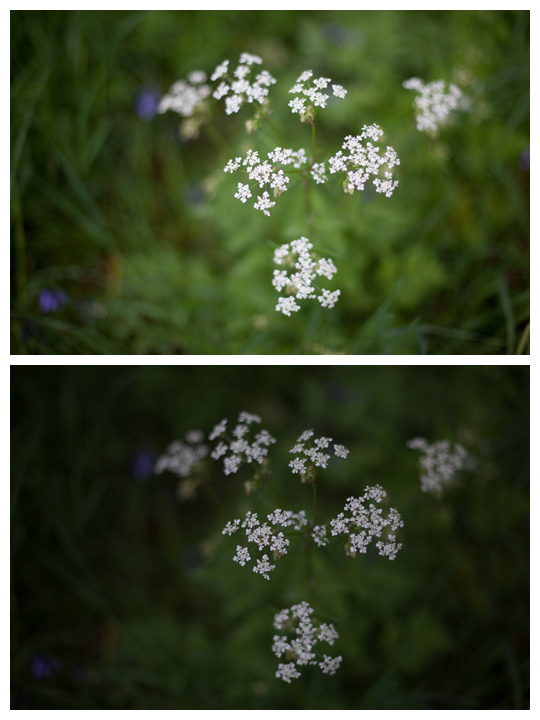
especially useful when you are dealing with a LOT of very bright sunshine…just tames things down a bit,click half a stop down.
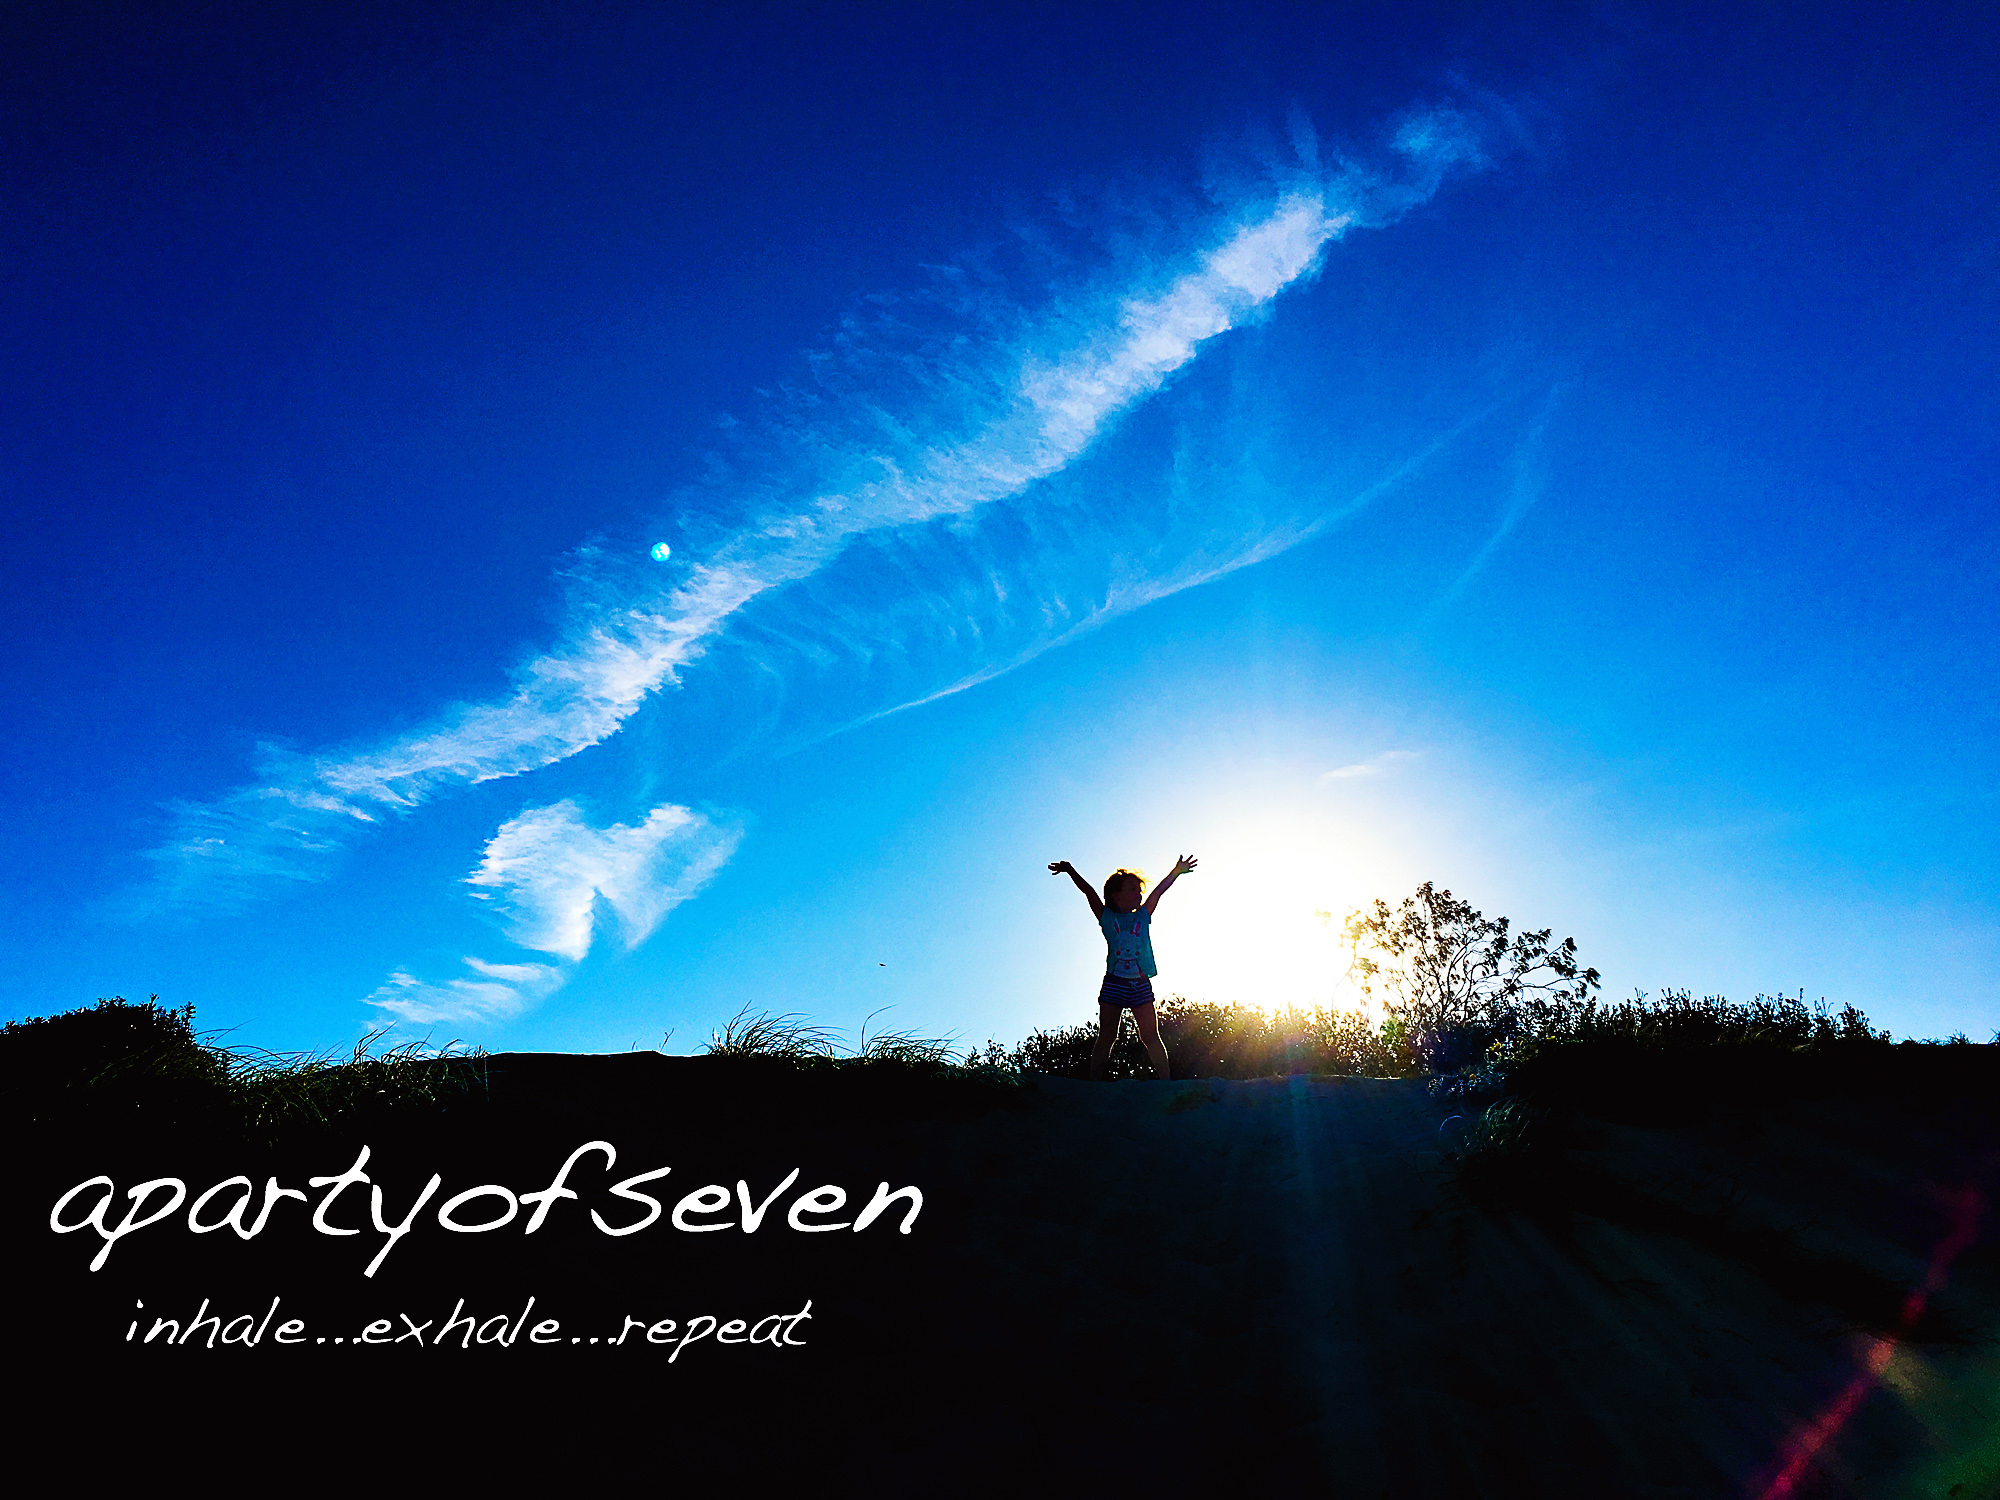
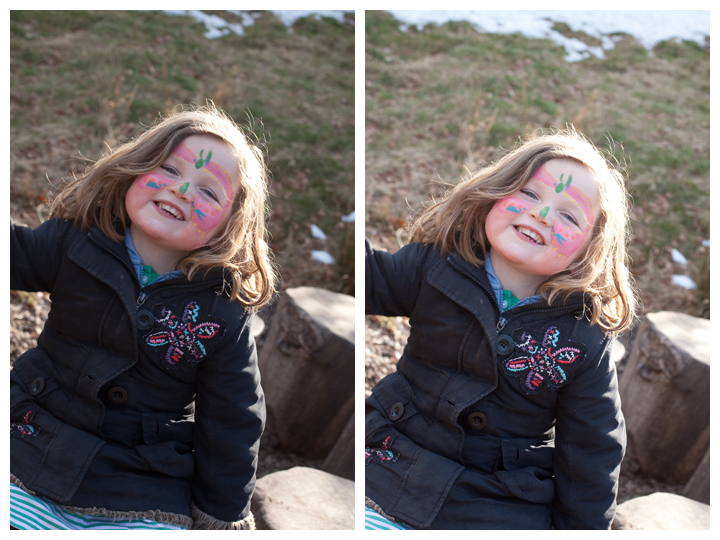
and very useful in a backlit situation when your setting would naturally be too dark for your subject (because the bright glow from the sun is fooling the camera) Up half a stop towards the +
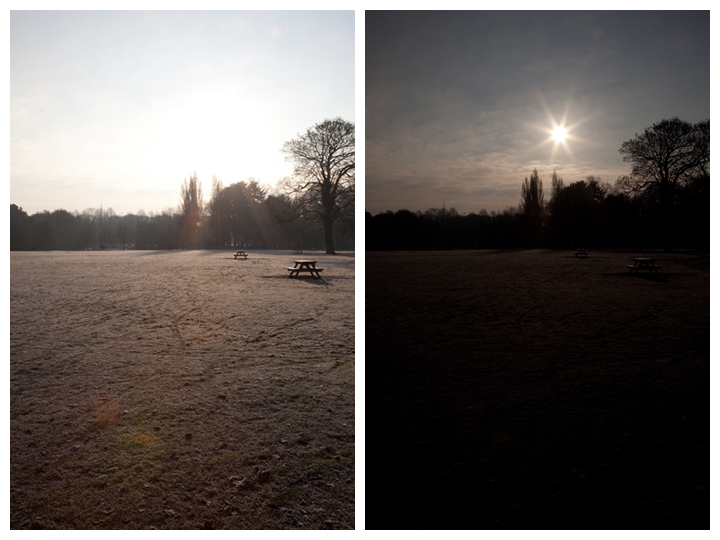
what a difference a setting can make, this is the exact same shot taken in two different ways. One on the right i exposed for the foreground, trees and grass. In the second i exposed for the sun. How beautiful is that starlight and see how we are now bringing out the colours in the sky rather than just a big white mass.
So what do you think? worth giving it a go? have a play with your metering and let me know how you get on.
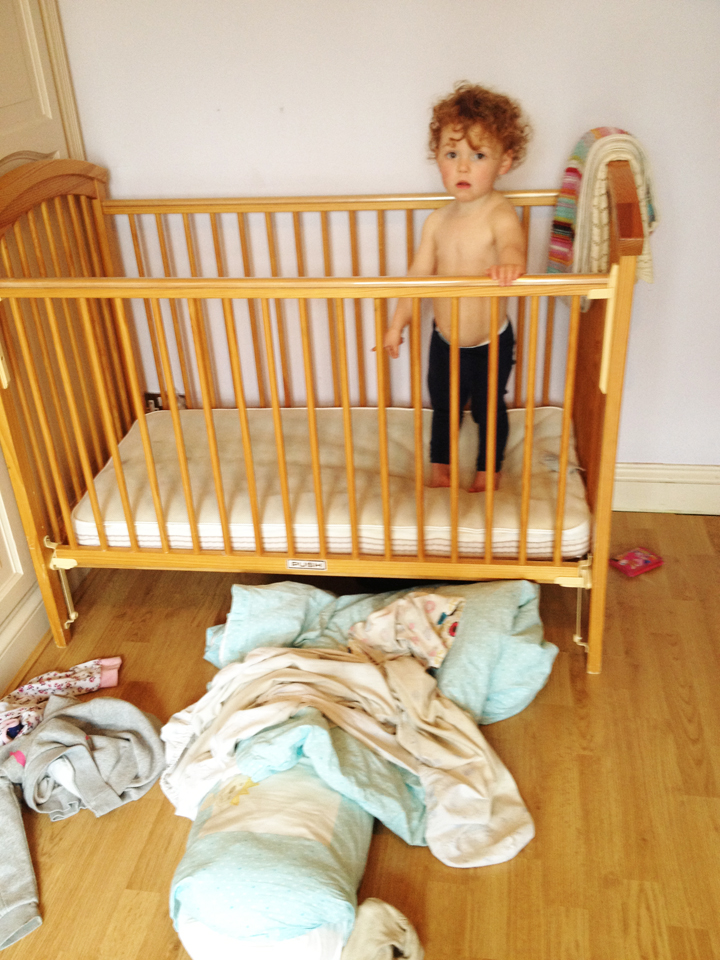 Fairly evident i think what my picture is going to be today. This is what i came up to after leaving her in bed for 40 minutes at lunctime. Its very nearly the end of lunchtime naps i think. *sob*